Classic Red Candy Apples
Highlighted under: Festive Kitchen Delights
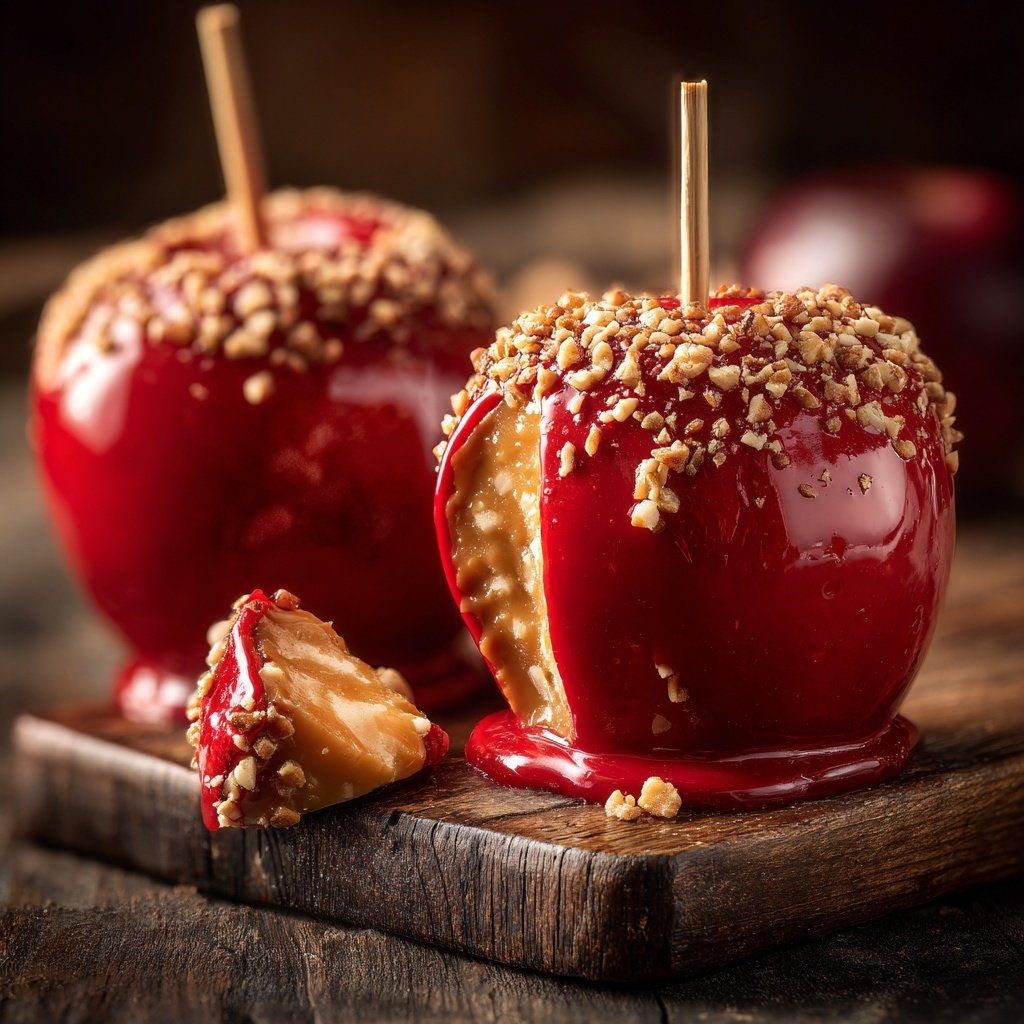
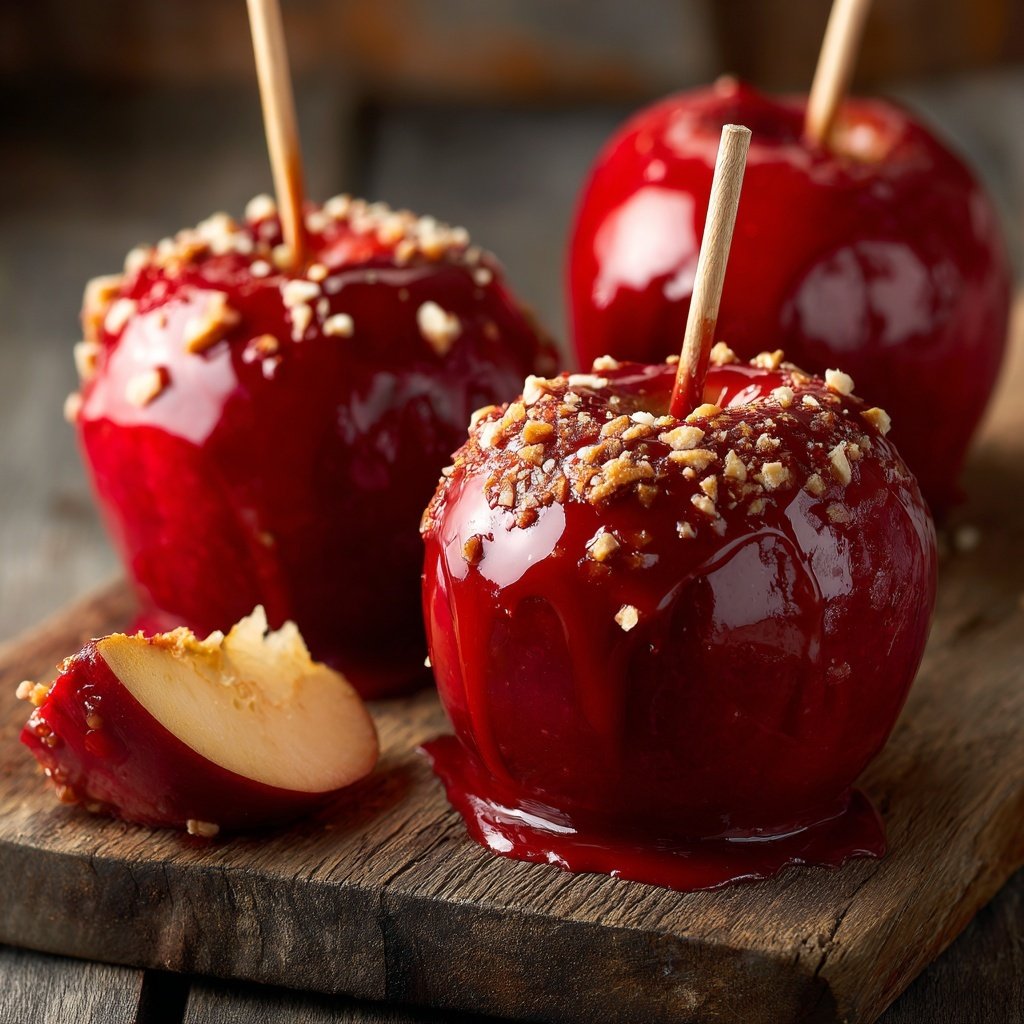
I absolutely love making Classic Red Candy Apples, especially during the fall season! The sweet coating on a crisp apple creates a delightful contrast that's hard to resist. Each bite is a nostalgic trip back to childhood fairs and memories of crunchy, sugary goodness. I enjoy choosing vibrant red apples for this treat, as they not only look beautiful but also taste fantastic when coated in that shiny, glossy candy. Making them is a fun process, and they’re always a hit with friends and family.
When I first decided to make Classic Red Candy Apples, I didn’t realize how simple the process could be. Using just sugar, water, and corn syrup, I created a glossy coating that perfectly adhered to the apples. The key, I found, is to keep the heat steady and monitor the temperature closely to achieve that ideal candy stage. It's all about patience.
The best part is decorating! I love adding colorful sprinkles or drizzling melted chocolate on top of the candy coating. This step not only enhances the flavor but also allows for personal creativity. Each apple becomes a unique treat!
Why You Will Love This Recipe
- The striking, glossy finish that makes these apples standout delights.
- A perfect mix of sweet and tart flavors in every crunchy bite.
- An easy recipe that everyone can enjoy making together.
Choosing the Right Apples
Selecting the best apples for candy coating is crucial for achieving that perfect balance of sweetness and tartness. I recommend using medium-sized, firm apples like Granny Smith or Honeycrisp. Their crisp texture holds up well during dipping, ensuring a delightful crunch. Also, their tartness complements the sugary coating beautifully, making each bite more enjoyable. Avoid soft or mealy apples; they won't provide the satisfying snap you expect in candy apples.
Before you start, ensure all apples are similar in size to promote even cooking and coating. If you prefer a sweeter bite, opt for Fuji or Gala apples, but remember that the balance of flavors is essential. If you want to experiment, try using different varieties and discover your favorite combination—it's all part of the fun!
Mastering the Candy Coating
The candy coating process requires precision and attention to detail. Cooking the sugar mixture to precisely 300°F ensures you reach the hard crack stage, allowing the candy to set perfectly. Use a candy thermometer for accuracy, as the visual cues can be misleading. If you're unsure, drop a small amount of the mixture into cold water; it should form a hard ball.
Once your mixture is at the right temperature, the timing becomes crucial. Dip the apples quickly to avoid crystallization as the candy begins to cool. If you notice any graininess in your coating, it may be a sign that the sugar crystallized while cooking. To prevent this, make sure to stop stirring once the mixture starts boiling.
Decorating and Storing Your Candy Apples
The decorative elements are what transform your classic candy apples into a delightful treat! Consider using a variety of toppings to create different flavors and textures – sprinkles add visual appeal, whereas chopped nuts provide a satisfying crunch. Apply these toppings while the candy is still warm so they adhere well. For a personalized touch, drizzle melted chocolate over the cooled candy apples for an indulgent addition.
If you have leftovers, store your candy apples in a cool, dry place, ideally in a single layer between sheets of parchment paper to prevent sticking. They can be kept for about a week, but for the best flavor and texture, enjoy them within the first few days. If the coating starts to lose its shine or becomes sticky, it may be time to toss them.
Ingredients
Gather these ingredients to create your sweet treats!
For the Candy Coating
- 2 cups granulated sugar
- 1/2 cup corn syrup
- 3/4 cup water
- 1/4 teaspoon red food coloring (optional)
- 8 medium-sized apples
- Wooden sticks or skewers
For Decorations (Optional)
- Sprinkles
- Chopped nuts
- Melted chocolate
Prepare your apples and make sure they are clean and dry before coating them.
Instructions
Follow these simple steps to make your own candy apples!
Prepare the Apples
Wash the apples thoroughly to remove any wax coating, then dry them completely. Insert a stick or skewer into the top of each apple.
Cook the Candy Mixture
In a saucepan, combine sugar, corn syrup, and water. Cook over medium heat, stirring until the sugar dissolves. Stop stirring and let it boil until it reaches 300°F (hard crack stage). Add the red food coloring if desired.
Coat the Apples
Once the candy mixture is ready, carefully dip each apple into the hot candy, tilting the saucepan for full coverage. Allow the excess candy to drip before placing the apples on a parchment-lined tray.
Add Decorations
While the candy is still warm and tacky, sprinkle your choice of decorations, like sprinkles or chopped nuts, over the apples.
Cool and Enjoy
Let the apples cool completely at room temperature before serving. Enjoy your delicious homemade candy apples!
These candy apples make for a fun treat at parties or as a seasonal snack!
Pro Tips
- Make sure the apples are completely dry before dipping to ensure the candy sticks well. For vivid color, add more food coloring gradually until you achieve the desired shade.
Tips for Perfect Results
For best results, ensure all your utensils and pans are completely dry before starting. Even a small amount of moisture can cause the candy to seize or not set correctly. Additionally, prepare all your ingredients and equipment ahead of time, as the candy-making process moves quickly and requires your full attention once you start cooking.
If you find your candy mixture isn't thickening as expected, it may be due to cooking at too low a temperature or not reaching the hard crack stage. If this happens, you can reheat your mixture gently while stirring until it reaches 300°F. Just be careful not to burn it, as sugar can turn from perfectly cooked to burnt quickly!
Variations to Try
While red candy apples are a classic, consider experimenting with flavors and colors! For a fun twist, try flavoring your candy coating with extracts like vanilla or almond. Additionally, use different food colorings to create a festive look for various holidays or events. For Halloween, orange or black candy coatings can be appealing, while green appeals to St. Patrick's Day.
For a healthier alternative, consider using dark chocolate instead of candy. Melt dark chocolate and dip the apples for a decadent treat that offers antioxidants. You can also roll them in toasted coconut or crushed freeze-dried fruits to add a unique flavor and texture.
Questions About Recipes
→ Can I use other types of apples?
Yes, you can experiment with different varieties like Granny Smith or Fuji, but make sure they are firm and fresh.
→ How long do candy apples last?
Candy apples are best enjoyed fresh but can last up to 2 days if stored in a cool place. Keep in mind that the candy may start to lose its crunchiness over time.
→ What can I use instead of corn syrup?
You could use a light honey or agave syrup, but it may alter the flavor and texture slightly.
→ Can I make these ahead of time?
It's best to make these on the day you plan to serve them for the freshest taste and texture.
Classic Red Candy Apples
Created by: Perrie Lawson
Recipe Type: Festive Kitchen Delights
Skill Level: Beginner
Final Quantity: 8 servings
What You'll Need
For the Candy Coating
- 2 cups granulated sugar
- 1/2 cup corn syrup
- 3/4 cup water
- 1/4 teaspoon red food coloring (optional)
- 8 medium-sized apples
- Wooden sticks or skewers
For Decorations (Optional)
- Sprinkles
- Chopped nuts
- Melted chocolate
How-To Steps
Wash the apples thoroughly to remove any wax coating, then dry them completely. Insert a stick or skewer into the top of each apple.
In a saucepan, combine sugar, corn syrup, and water. Cook over medium heat, stirring until the sugar dissolves. Stop stirring and let it boil until it reaches 300°F (hard crack stage). Add the red food coloring if desired.
Once the candy mixture is ready, carefully dip each apple into the hot candy, tilting the saucepan for full coverage. Allow the excess candy to drip before placing the apples on a parchment-lined tray.
While the candy is still warm and tacky, sprinkle your choice of decorations, like sprinkles or chopped nuts, over the apples.
Let the apples cool completely at room temperature before serving. Enjoy your delicious homemade candy apples!
Extra Tips
- Make sure the apples are completely dry before dipping to ensure the candy sticks well. For vivid color, add more food coloring gradually until you achieve the desired shade.
Nutritional Breakdown (Per Serving)
- Calories: 190 kcal per apple
- Total Fat: 0g
- Saturated Fat: 0g
- Cholesterol: 0mg
- Sodium: 0mg
- Total Carbohydrates: 51g
- Dietary Fiber: 3g
- Sugars: 46g
- Protein: 0g